
Custom Webbing Straps: A Buyer’s Sample Approval Guide

Webbing strap sample approval starts with three checks: cut length, sewn layout and hardware fit. Keep the accepted assembly and its specification in one sample record.
On this page
From webbing to a finished strap
PANOAR accepts standalone webbing and strap orders, as well as components for bag and K9 projects. Printing and jacquard work are completed by suppliers; PANOAR handles cutting, sewing and hardware assembly. The requested material, artwork and construction are reviewed for the specific project.
Start by defining what you want delivered: webbing material, cut pieces, a sewn strap with hardware, or a strap attached to a product panel. A drawing or reference sample should show where that component ends and which adjoining parts are included.
For printed or jacquard webbing, identify the artwork version, pattern repeat and orientation. For an assembled strap, add the cut and finished dimensions, folds, stitch positions and hardware references. These details connect the supplied webbing to the component you will approve.
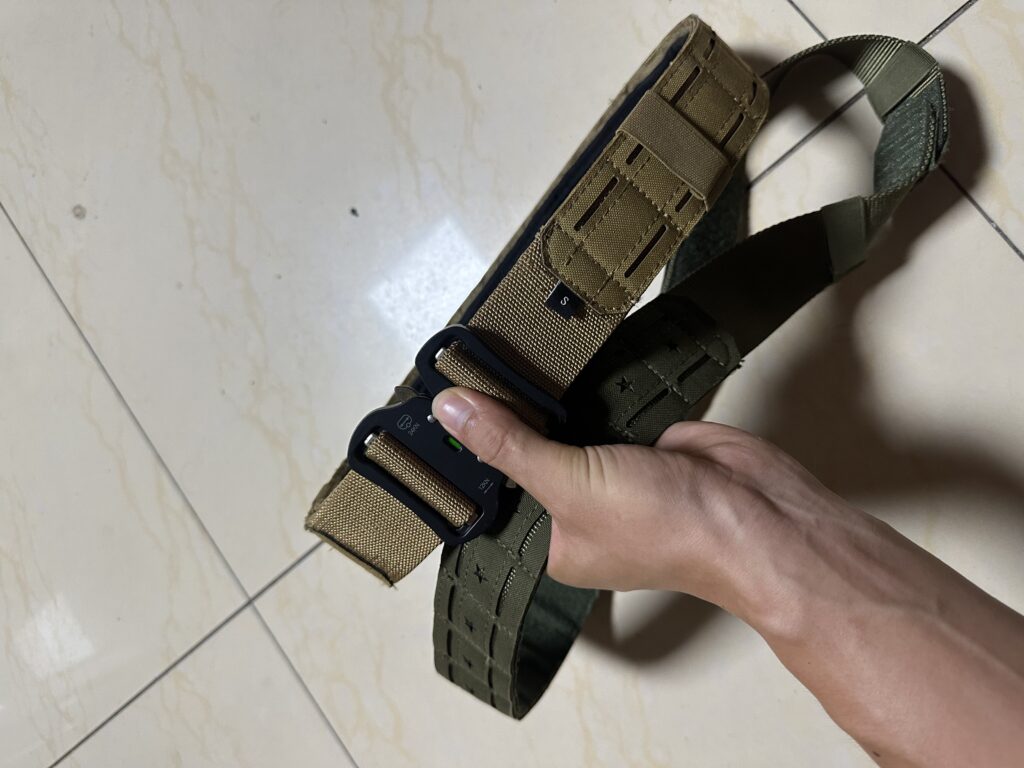
Confirm cut and finished dimensions
A single length value can describe several different things. Separate the length of the cut webbing from the finished strap length, loop dimensions and adjustment range. Mark the measuring points on the drawing and state whether the hardware is included.
Swipe horizontally to see all columns.
| Detail | What to define | What to check on the sample |
|---|---|---|
| Webbing | Identified material, width, thickness and surface or pattern reference. | The material selected for the actual assembly. |
| Cut length | The straight cut piece before folds, turnbacks and sewing. | Its relationship to the required finished construction. |
| Finished dimensions | Measuring points, folds, loop size and any adjustment range. | The assembled sample measured against the drawing. |
| Hardware | Part reference, slot dimensions and threading route. | The selected hardware and webbing combination. |
| Sewn layout | Fold direction, stitch positions and attachment points. | Placement and orientation against the approved reference. |
Agree the tolerances for the measurements that affect the product. Keep the material reference and adjoining hardware with the drawing so the sample can be reviewed as a complete combination. For broader selection questions, see PANOAR’s materials and hardware options.
Show where the folds and stitches belong
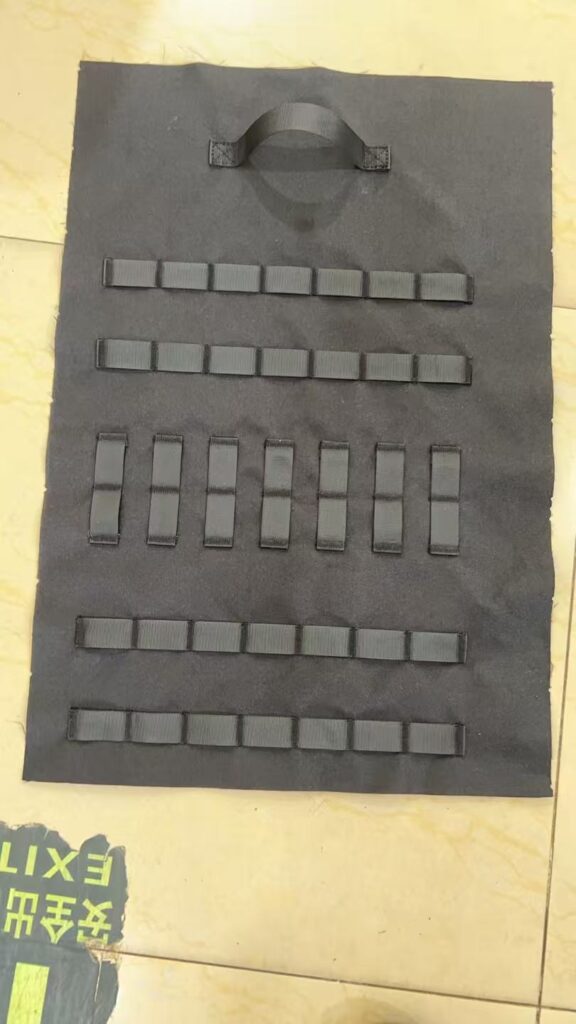
Mark turnbacks, loop direction, handle placement and stitch positions on a drawing or physical reference. If a strap attaches to a panel, identify that panel and the adjoining layers as well.
A sewn panel can help you discuss horizontal runs, vertical loops and a raised handle. Record the required positions and orientation for your product, rather than treating a reference panel as a universal layout.
For MOLLE/PALS spacing requirements, use the separate MOLLE webbing spacing guide. Keep those grid dimensions distinct from the dimensions of an individual strap assembly.
Check hardware with the actual webbing
A hook held by a sewn loop has a different interface from webbing routed through an adjustable buckle. Provide the exact part reference and show the threading route, folds and sewn return where applicable.
Review width, thickness, the available slot and the intended opening or adjustment action together on the sample. If either the webbing or hardware changes, identify the change and review the affected interface again.
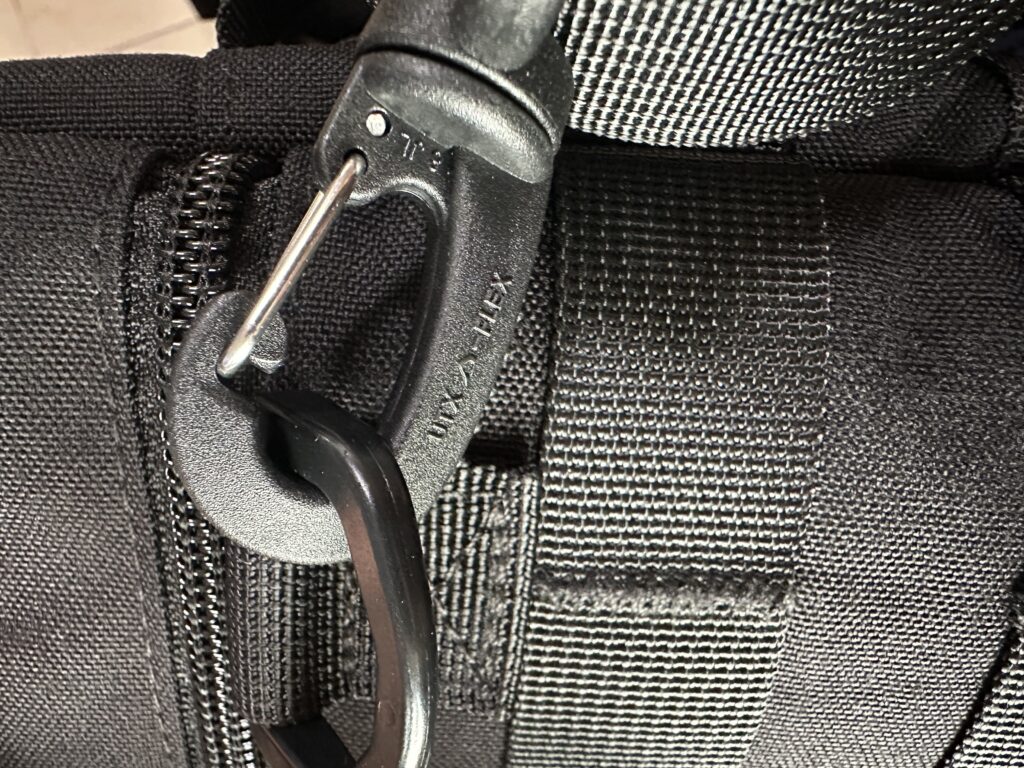
Confirm performance requirements separately. A photograph or a marking on individual hardware does not establish the strength of the complete assembly. If performance evidence is required, send the assembly specification, test method, acceptance criteria and report requirements for project review.
Keep one record of the approved assembly
Give the sample a version ID and link it to the drawing, webbing reference and hardware parts. Record accepted details and open changes separately, so a revised sample is not confused with the version you approved.
- Order scope and intended application.
- Material reference, cut length and finished measuring points.
- Artwork version and pattern repeat, where relevant.
- Hardware references, routing and sewn layout.
- Sample version, review date and approval decision.
Identify the physical color reference that applies to the strap. PANOAR’s color approval guide covers swatches and supplier color samples; the assembly record should link to the selected reference.
Send your strap requirements
Share your intended use, drawing or sample photos, material reference, width and thickness, cut and finished dimensions, hardware details and estimated quantity. Include artwork or a repeat reference for printed or jacquard webbing, plus your delivery destination.
The construction, supplier requirements, order conditions and timing are confirmed for the specific project.
Request a Strap Quote