
Box-X Stitch and Bar Tack: Specify Webbing Joints for OEM Gear

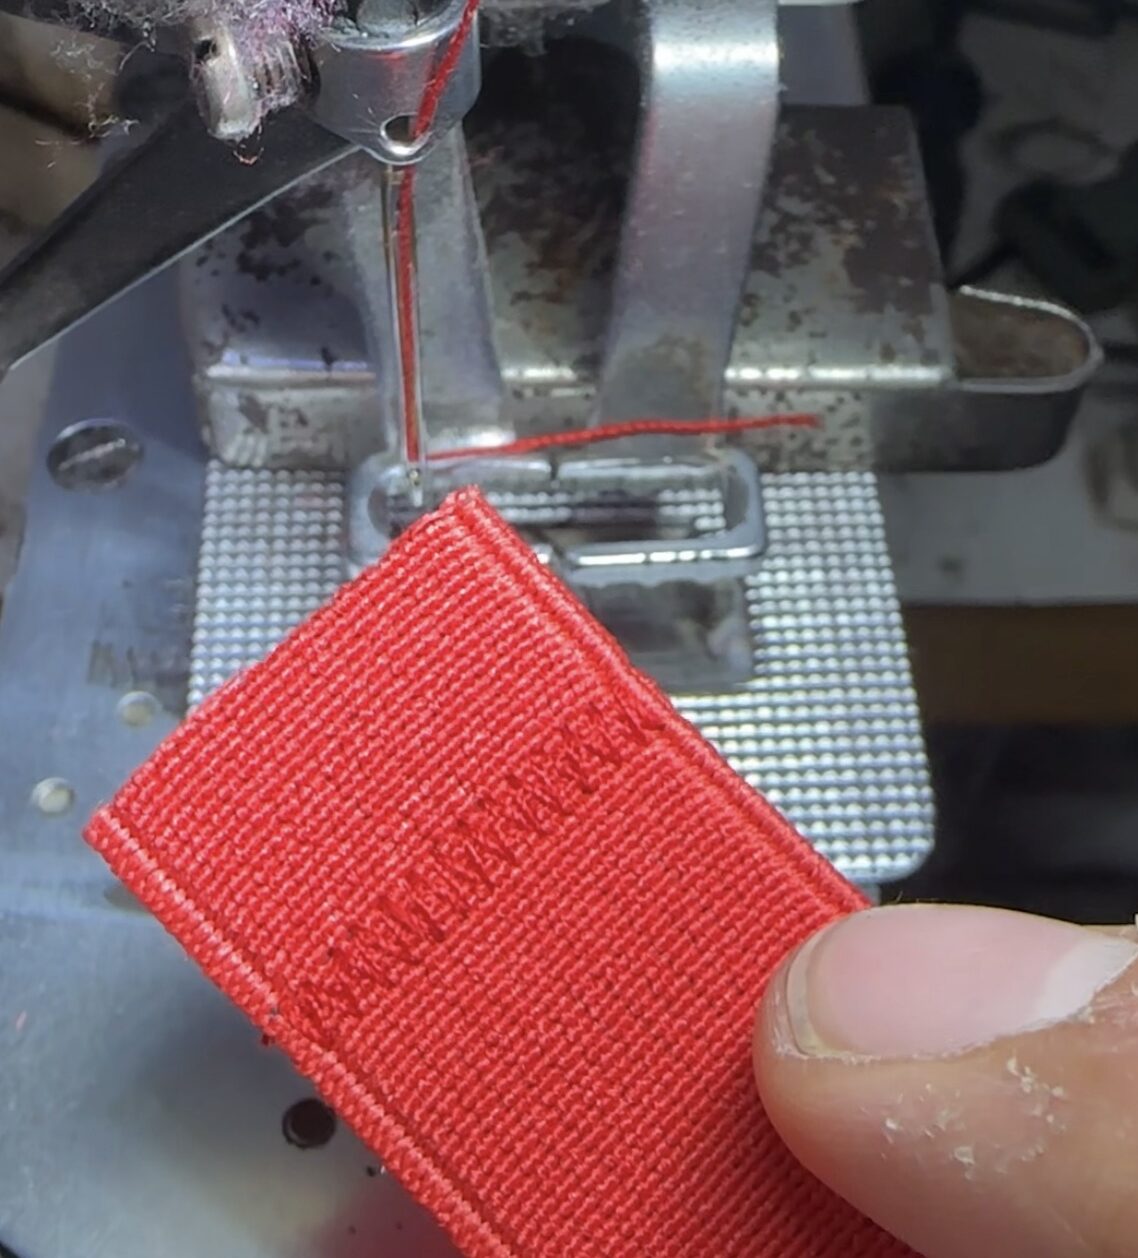
OEM construction · buyer guide
Specify the complete webbing joint.
For an OEM bag, strap or K9 product, specify the webbing joint by its materials, folded arrangement, stitch layout and position on the finished product. Box-X stitching and bar tacks describe sewing patterns; the sample review should establish how the chosen pattern joins the actual components.
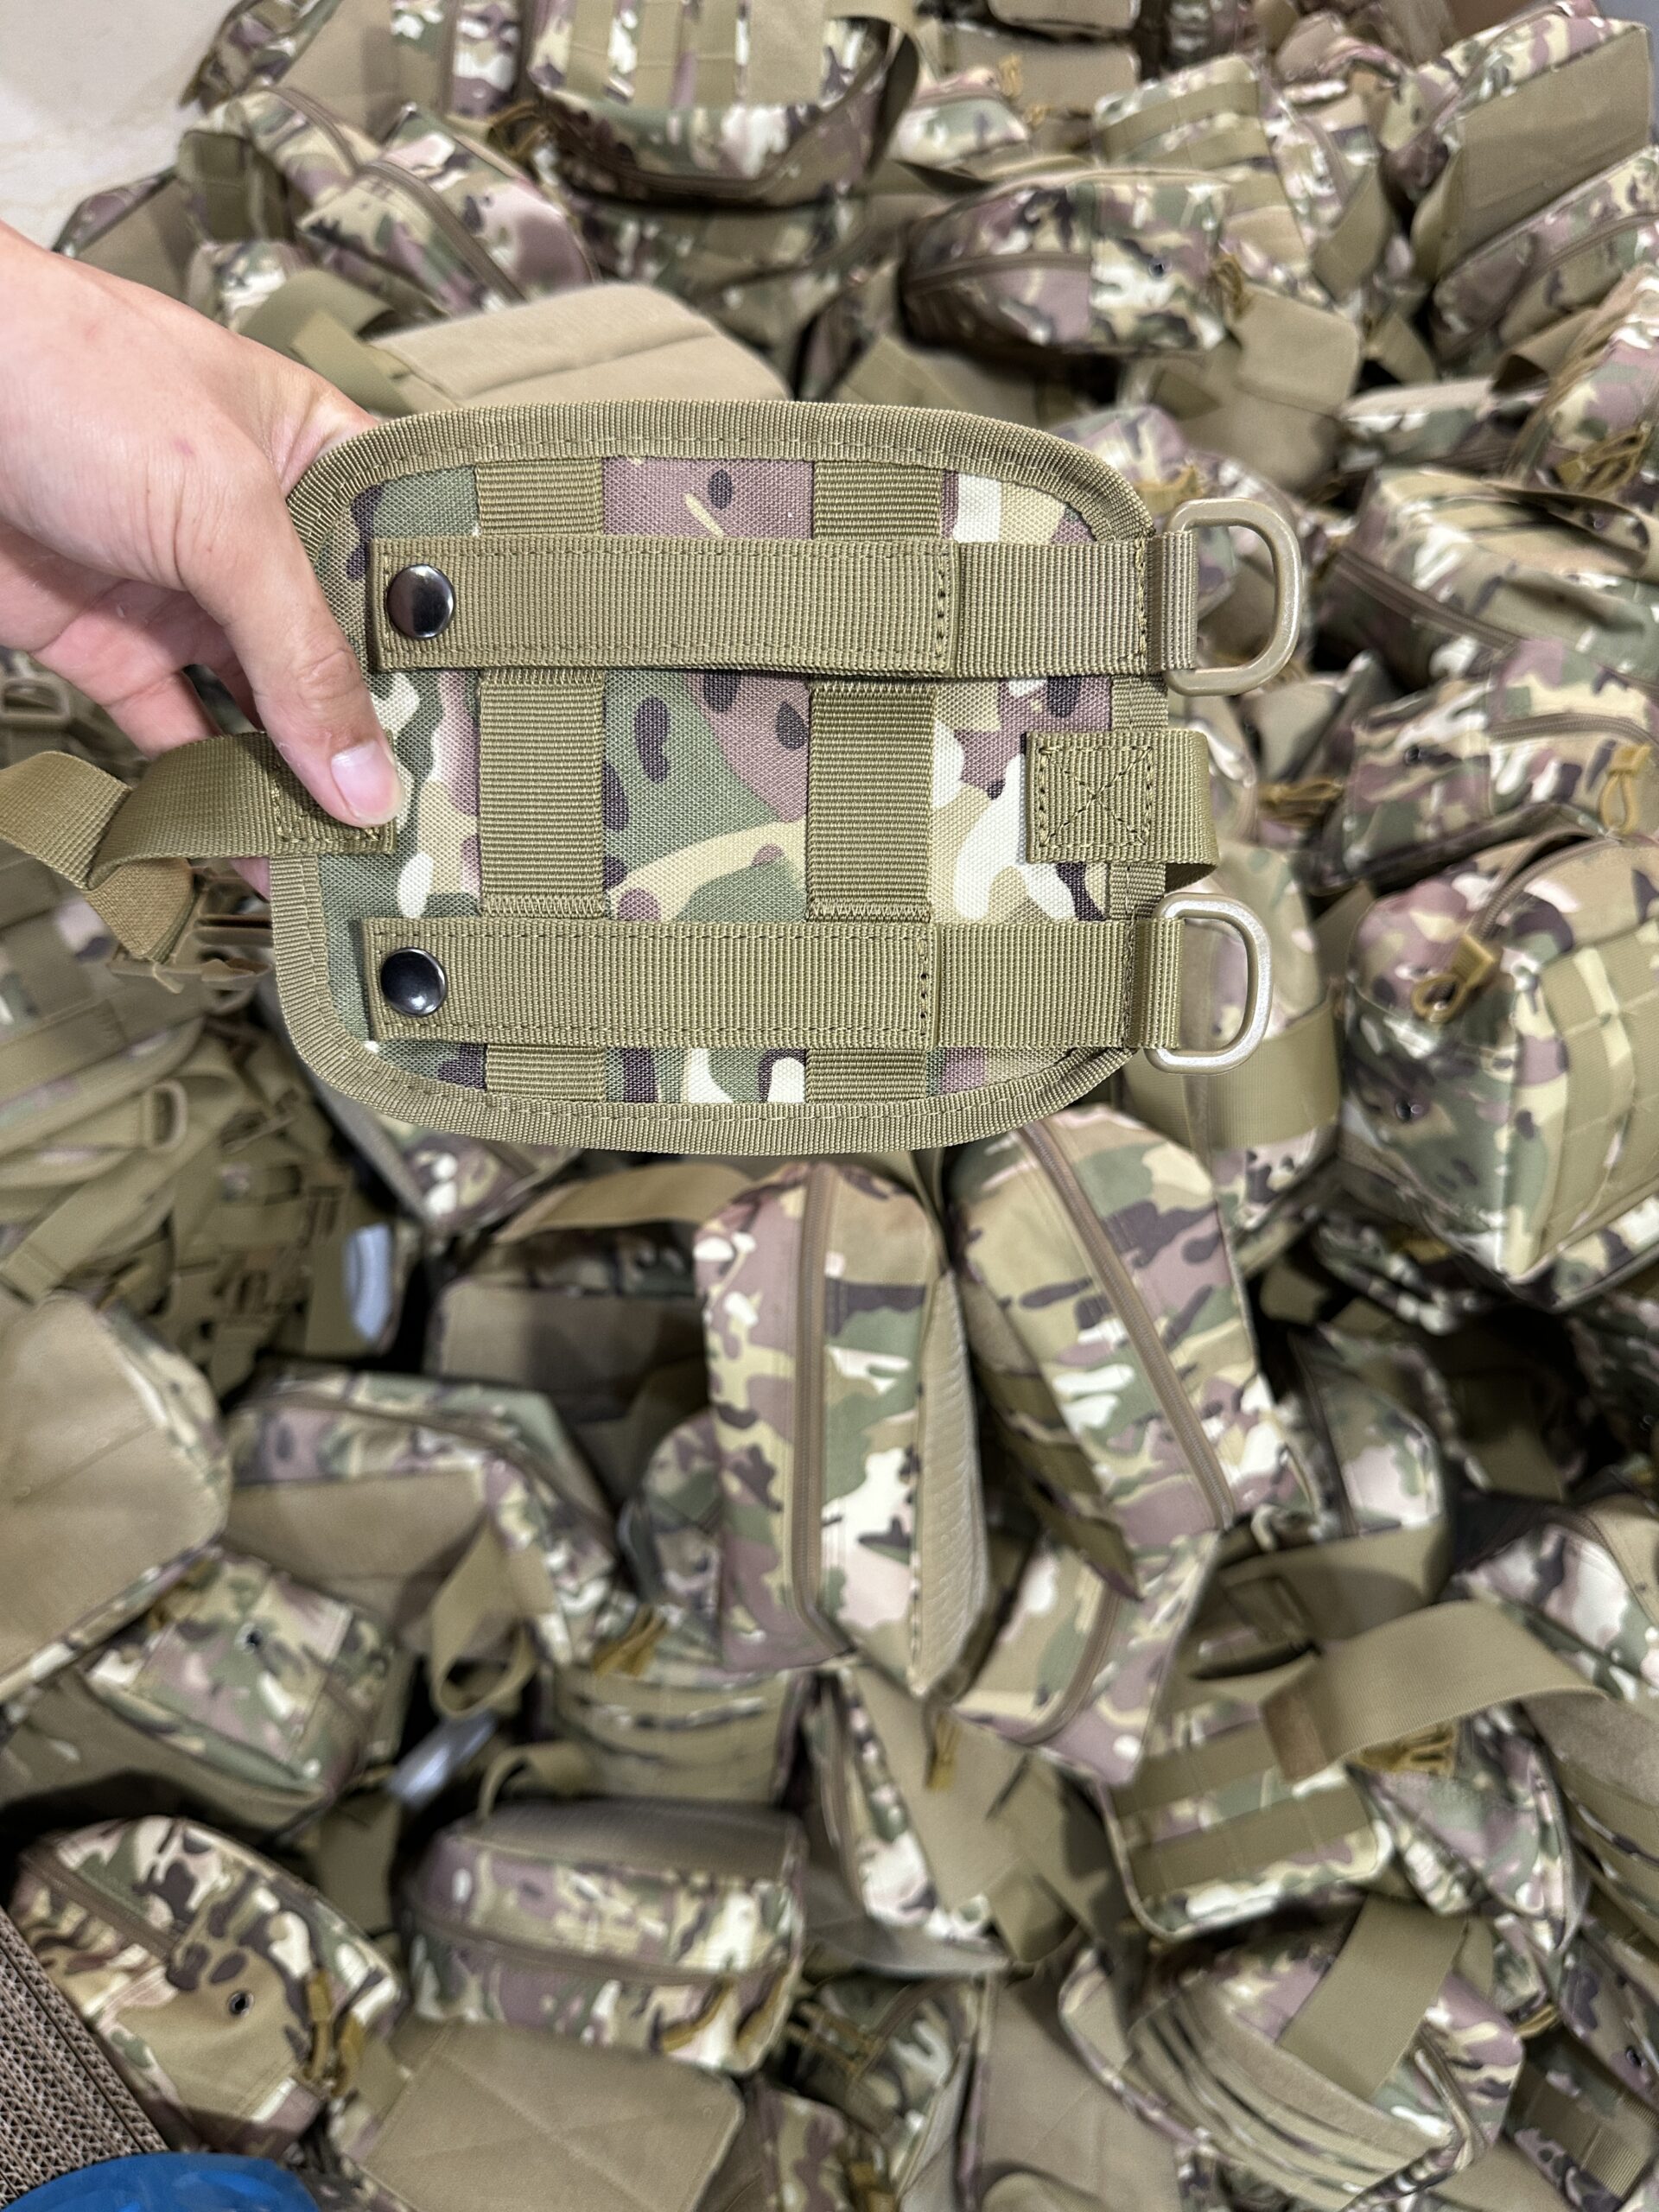
PANOAR’s factory photographs below show both patterns on webbing and finished equipment. Use these examples to prepare a joint drawing and review an assembled sample before approving the construction for your order.
On this page
Identify Box-X stitching and bar tacks
A Box-X stitch has a box-shaped perimeter with diagonal stitches crossing inside it. A bar tack forms a compact area of concentrated stitching. On a product with several attachments, both patterns may appear at different locations.
The camouflage pouch photograph shows an identifiable Box-X pattern on its short webbing loop. Other stitching on that panel has separate roles. Mark the particular joint you want to discuss so a reference photograph does not become a vague instruction to copy every visible seam.
For a sewing demonstration of the Box-X pattern, see Sailrite’s Box-X stitch guide. The procurement task here is to define the joint on your own product and retain the agreed construction reference.
Swipe the table to compare the patterns.
| Review point | Box-X | Bar tack |
|---|---|---|
| Visible pattern | A box outline with crossing diagonals. | A short, concentrated area of stitching. |
| What to mark | The complete outline and its position on the joined parts. | Each tack’s position, orientation and spacing. |
| What to confirm | The intended stitch path through the specified layers. | The tack pattern and the layers it joins at each position. |
| Shared approval inputs | Material references, fold, overlap, thread and sample revision. | Material references, fold, overlap, thread and sample revision. |
A pattern name alone is insufficient to rank joint strength. If the project has a performance requirement, agree how the exact sewn construction will be verified.
Record the layers, overlap and attachment position
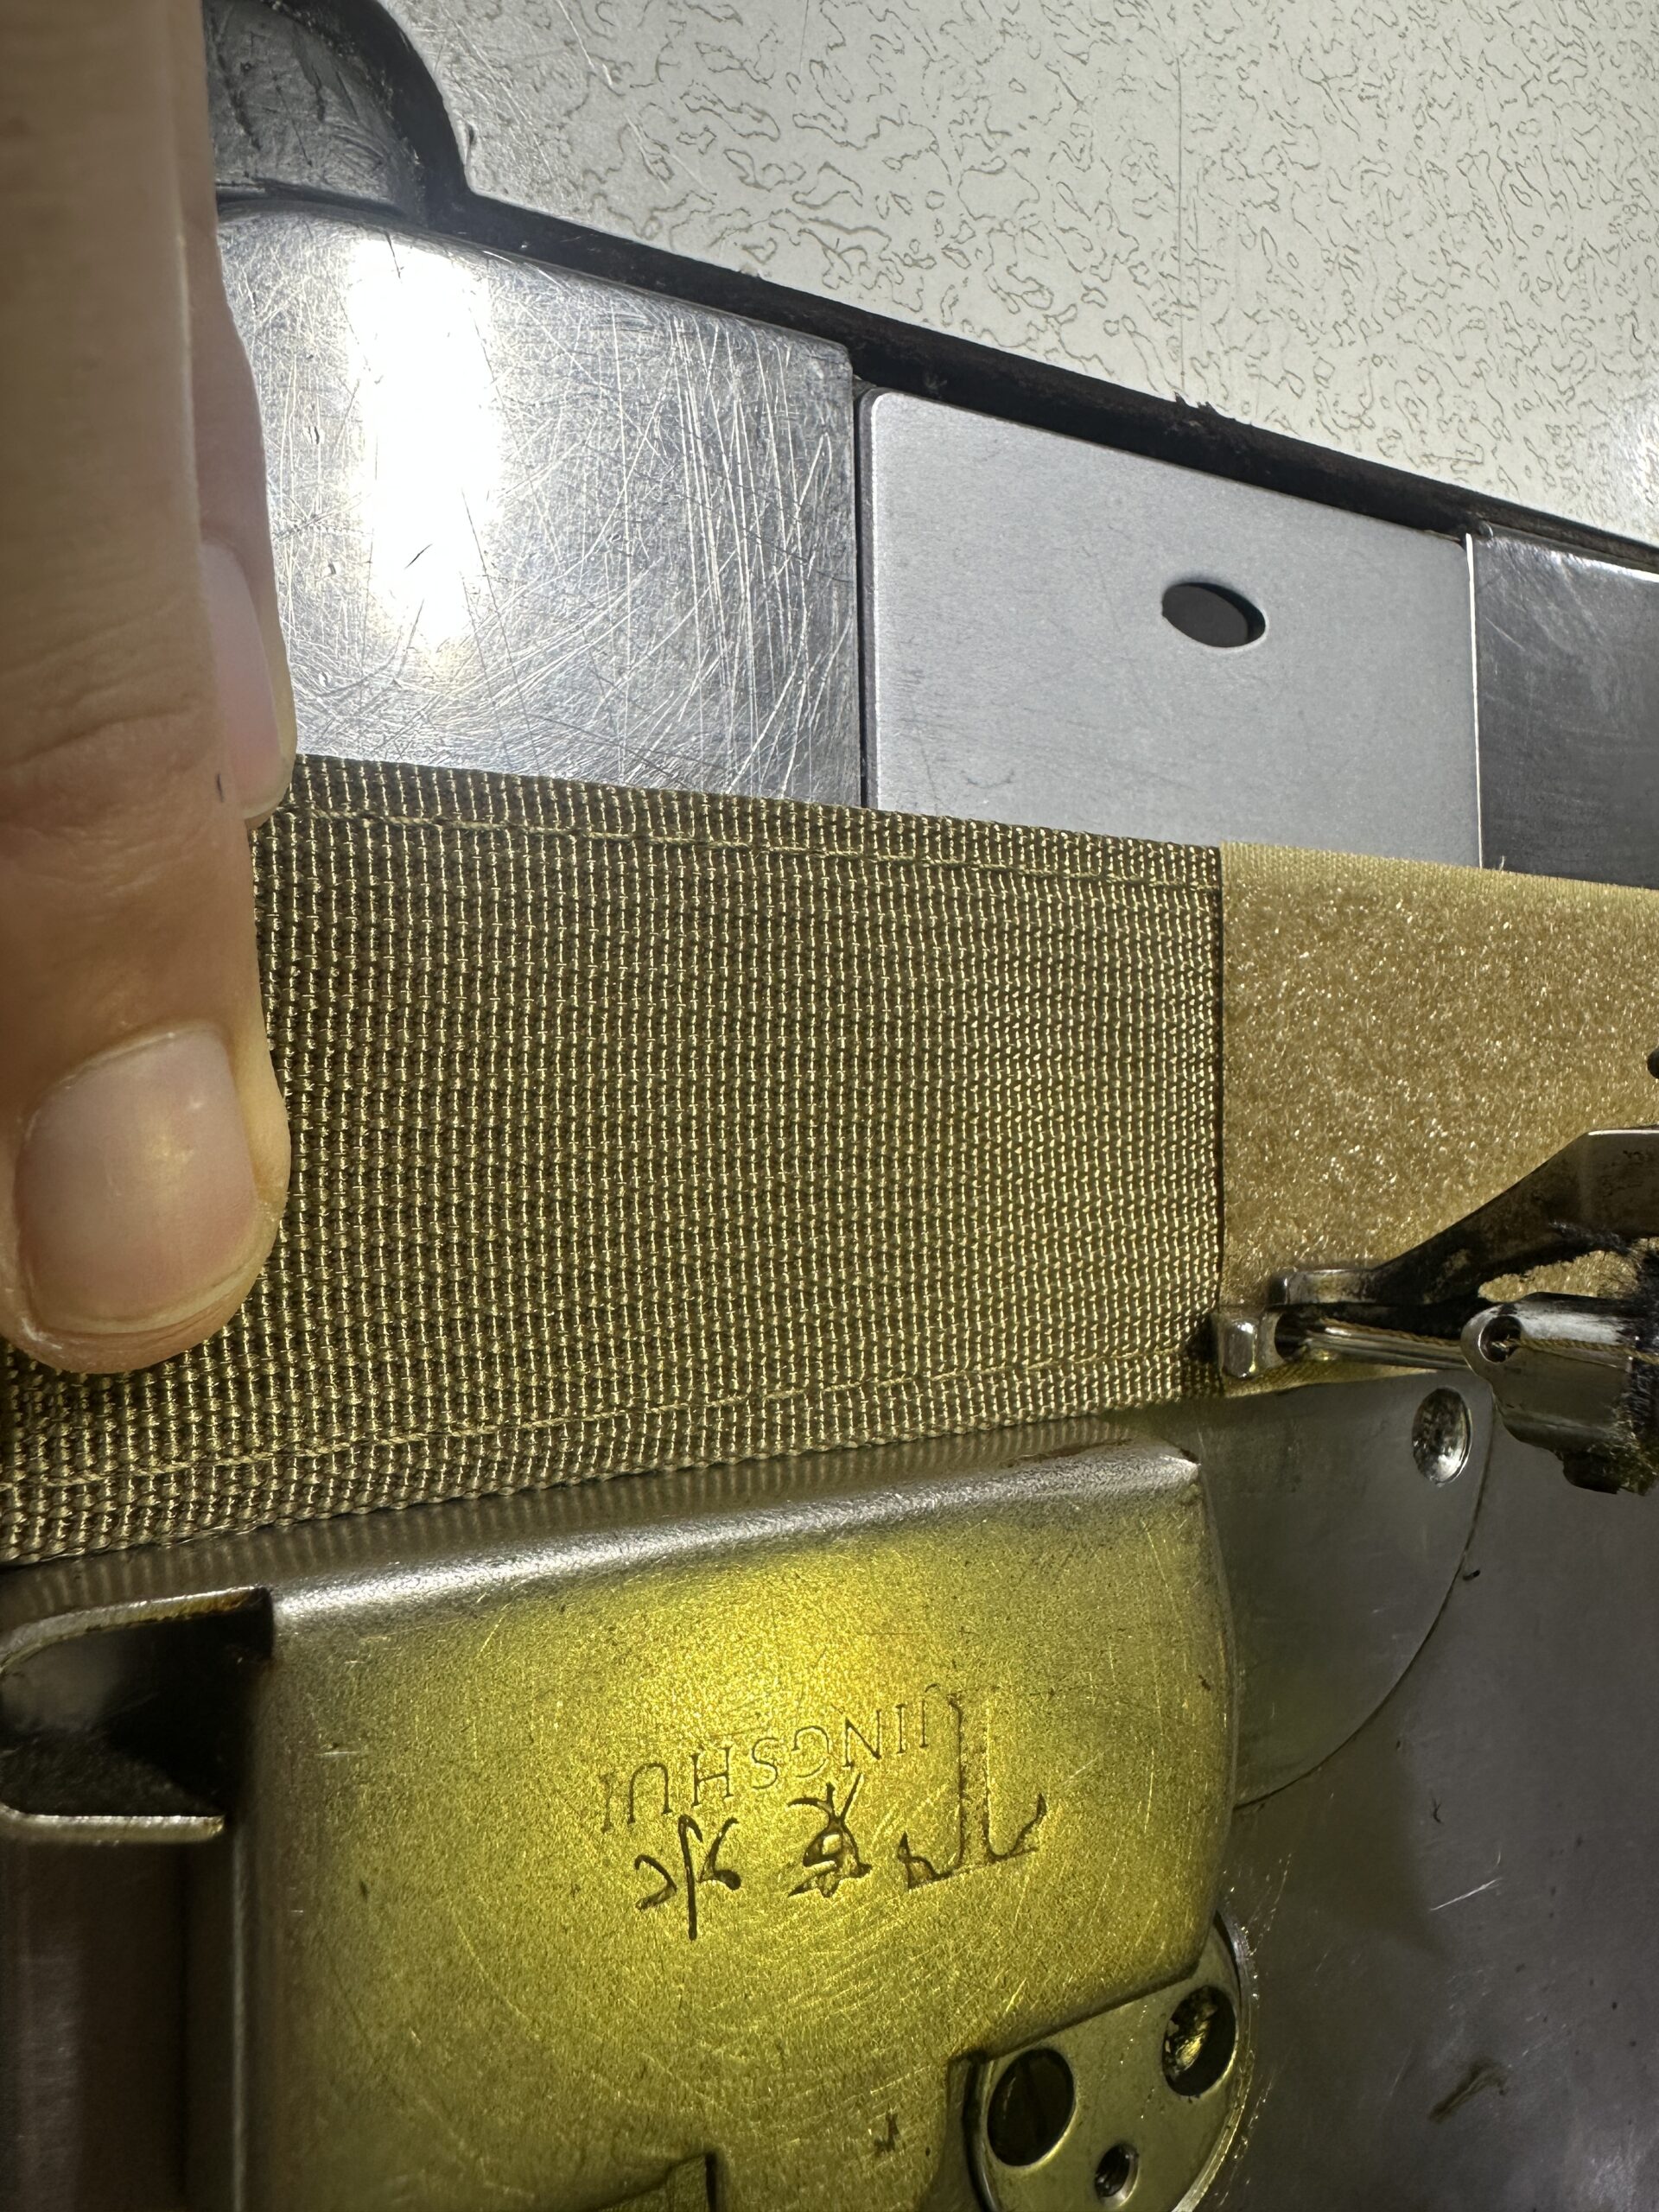
Start with a marked drawing or a clear photograph of the intended attachment. Identify what the webbing joins: another webbing layer, a fabric panel, a folded return around hardware or a different component. Show the direction in which the assembly is expected to be pulled during use.
Record the construction details that the sample maker needs:
- Webbing reference, width and thickness specification.
- Base fabric and any backing or reinforcement included in the joint.
- Fold direction, overlap length and the intended layer arrangement.
- Stitch-pattern outline, placement relative to the edges and any repeated tack positions.
- Thread reference and the stitch settings agreed for the sample.
Put dimensions on the drawing or measurement record. An angled photograph can locate a joint, but it cannot establish an accurate overlap length or show every hidden layer. Confirm those details on the physical sample or construction document.
For the wider strap specification, including cut and finished dimensions and hardware references, use the webbing strap sample approval guide. Keep the joint drawing with that same sample revision.
Review the joint in the finished product
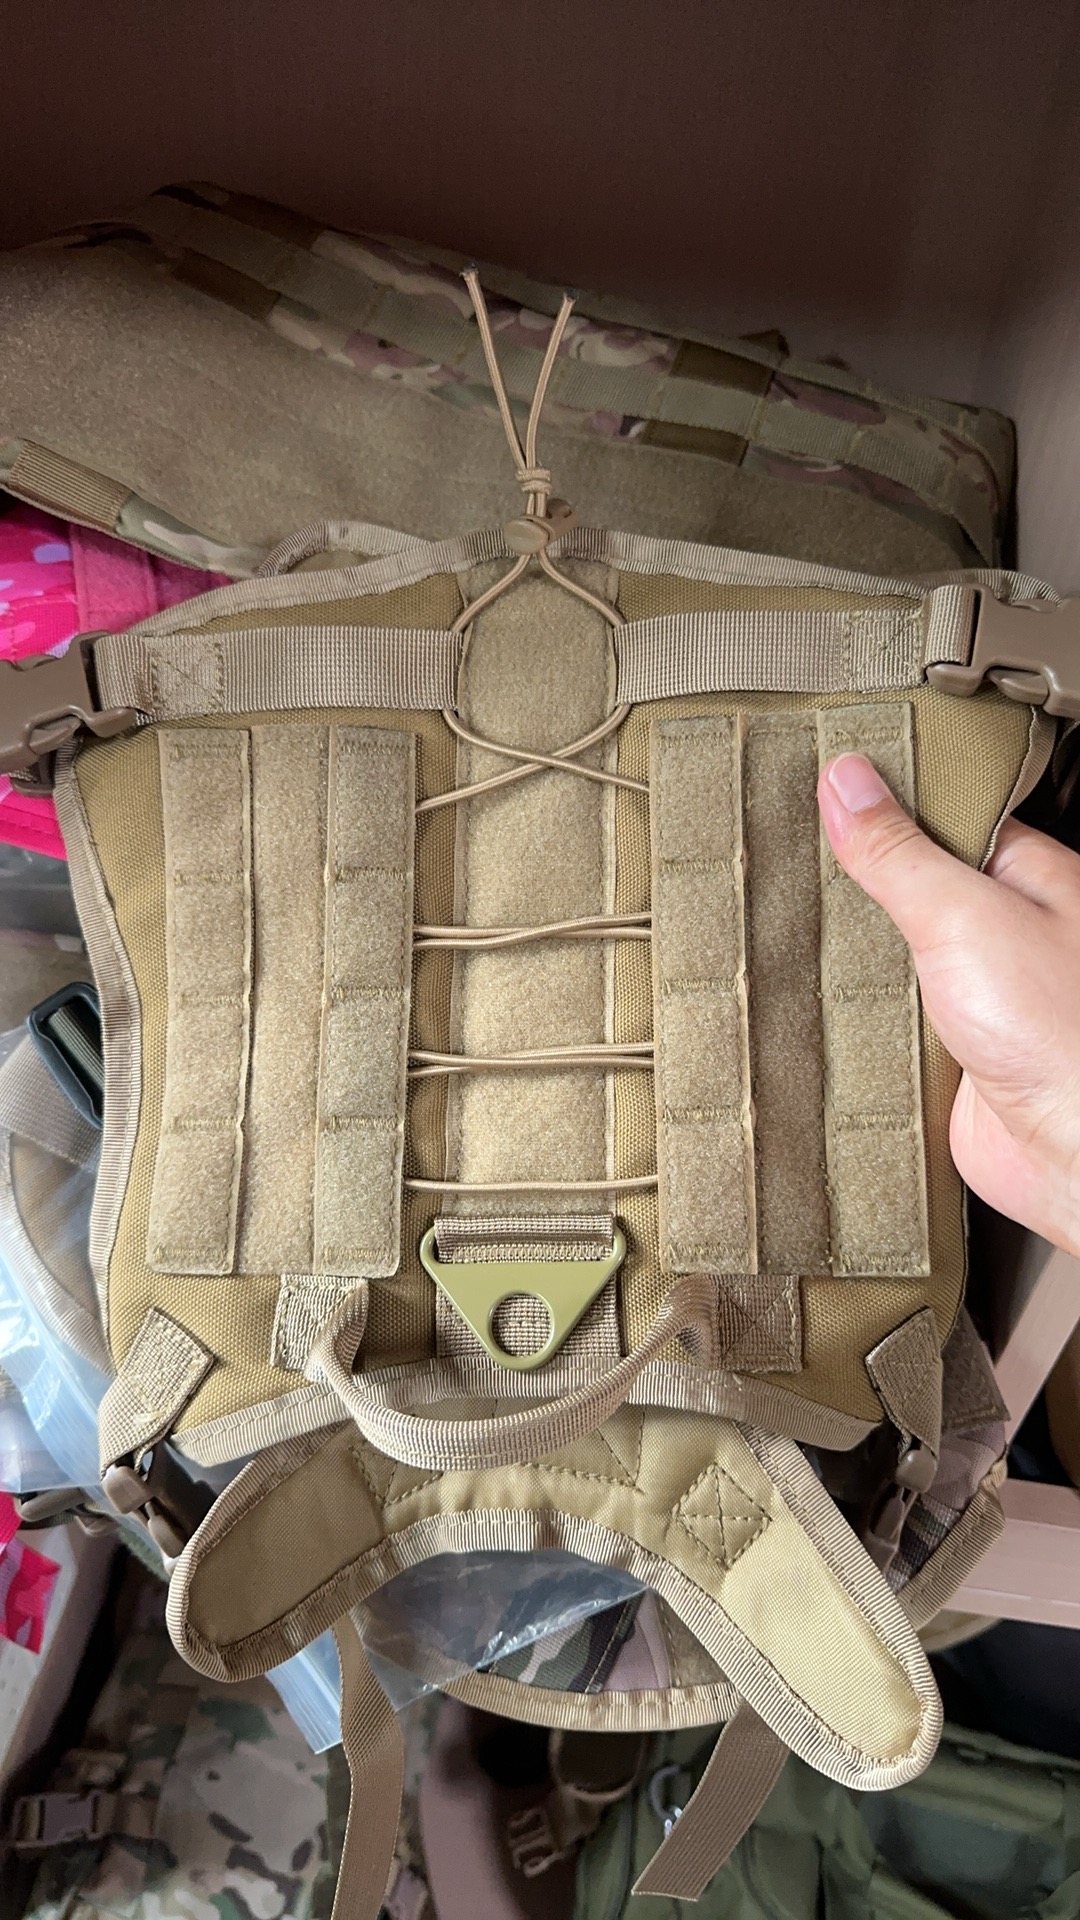
Review the sewn joint with its surrounding parts in place. A loop on a pouch, an attachment on a dog vest and a folded leash end need their own marked references, even if their stitch patterns look similar.
On a folded connection around hardware, check the webbing path, return position and access to the adjoining parts. On a panel attachment, review the relationship between the webbing, panel edge and any other seams. Confirm that the intended loop opening or adjustment remains usable after sewing.
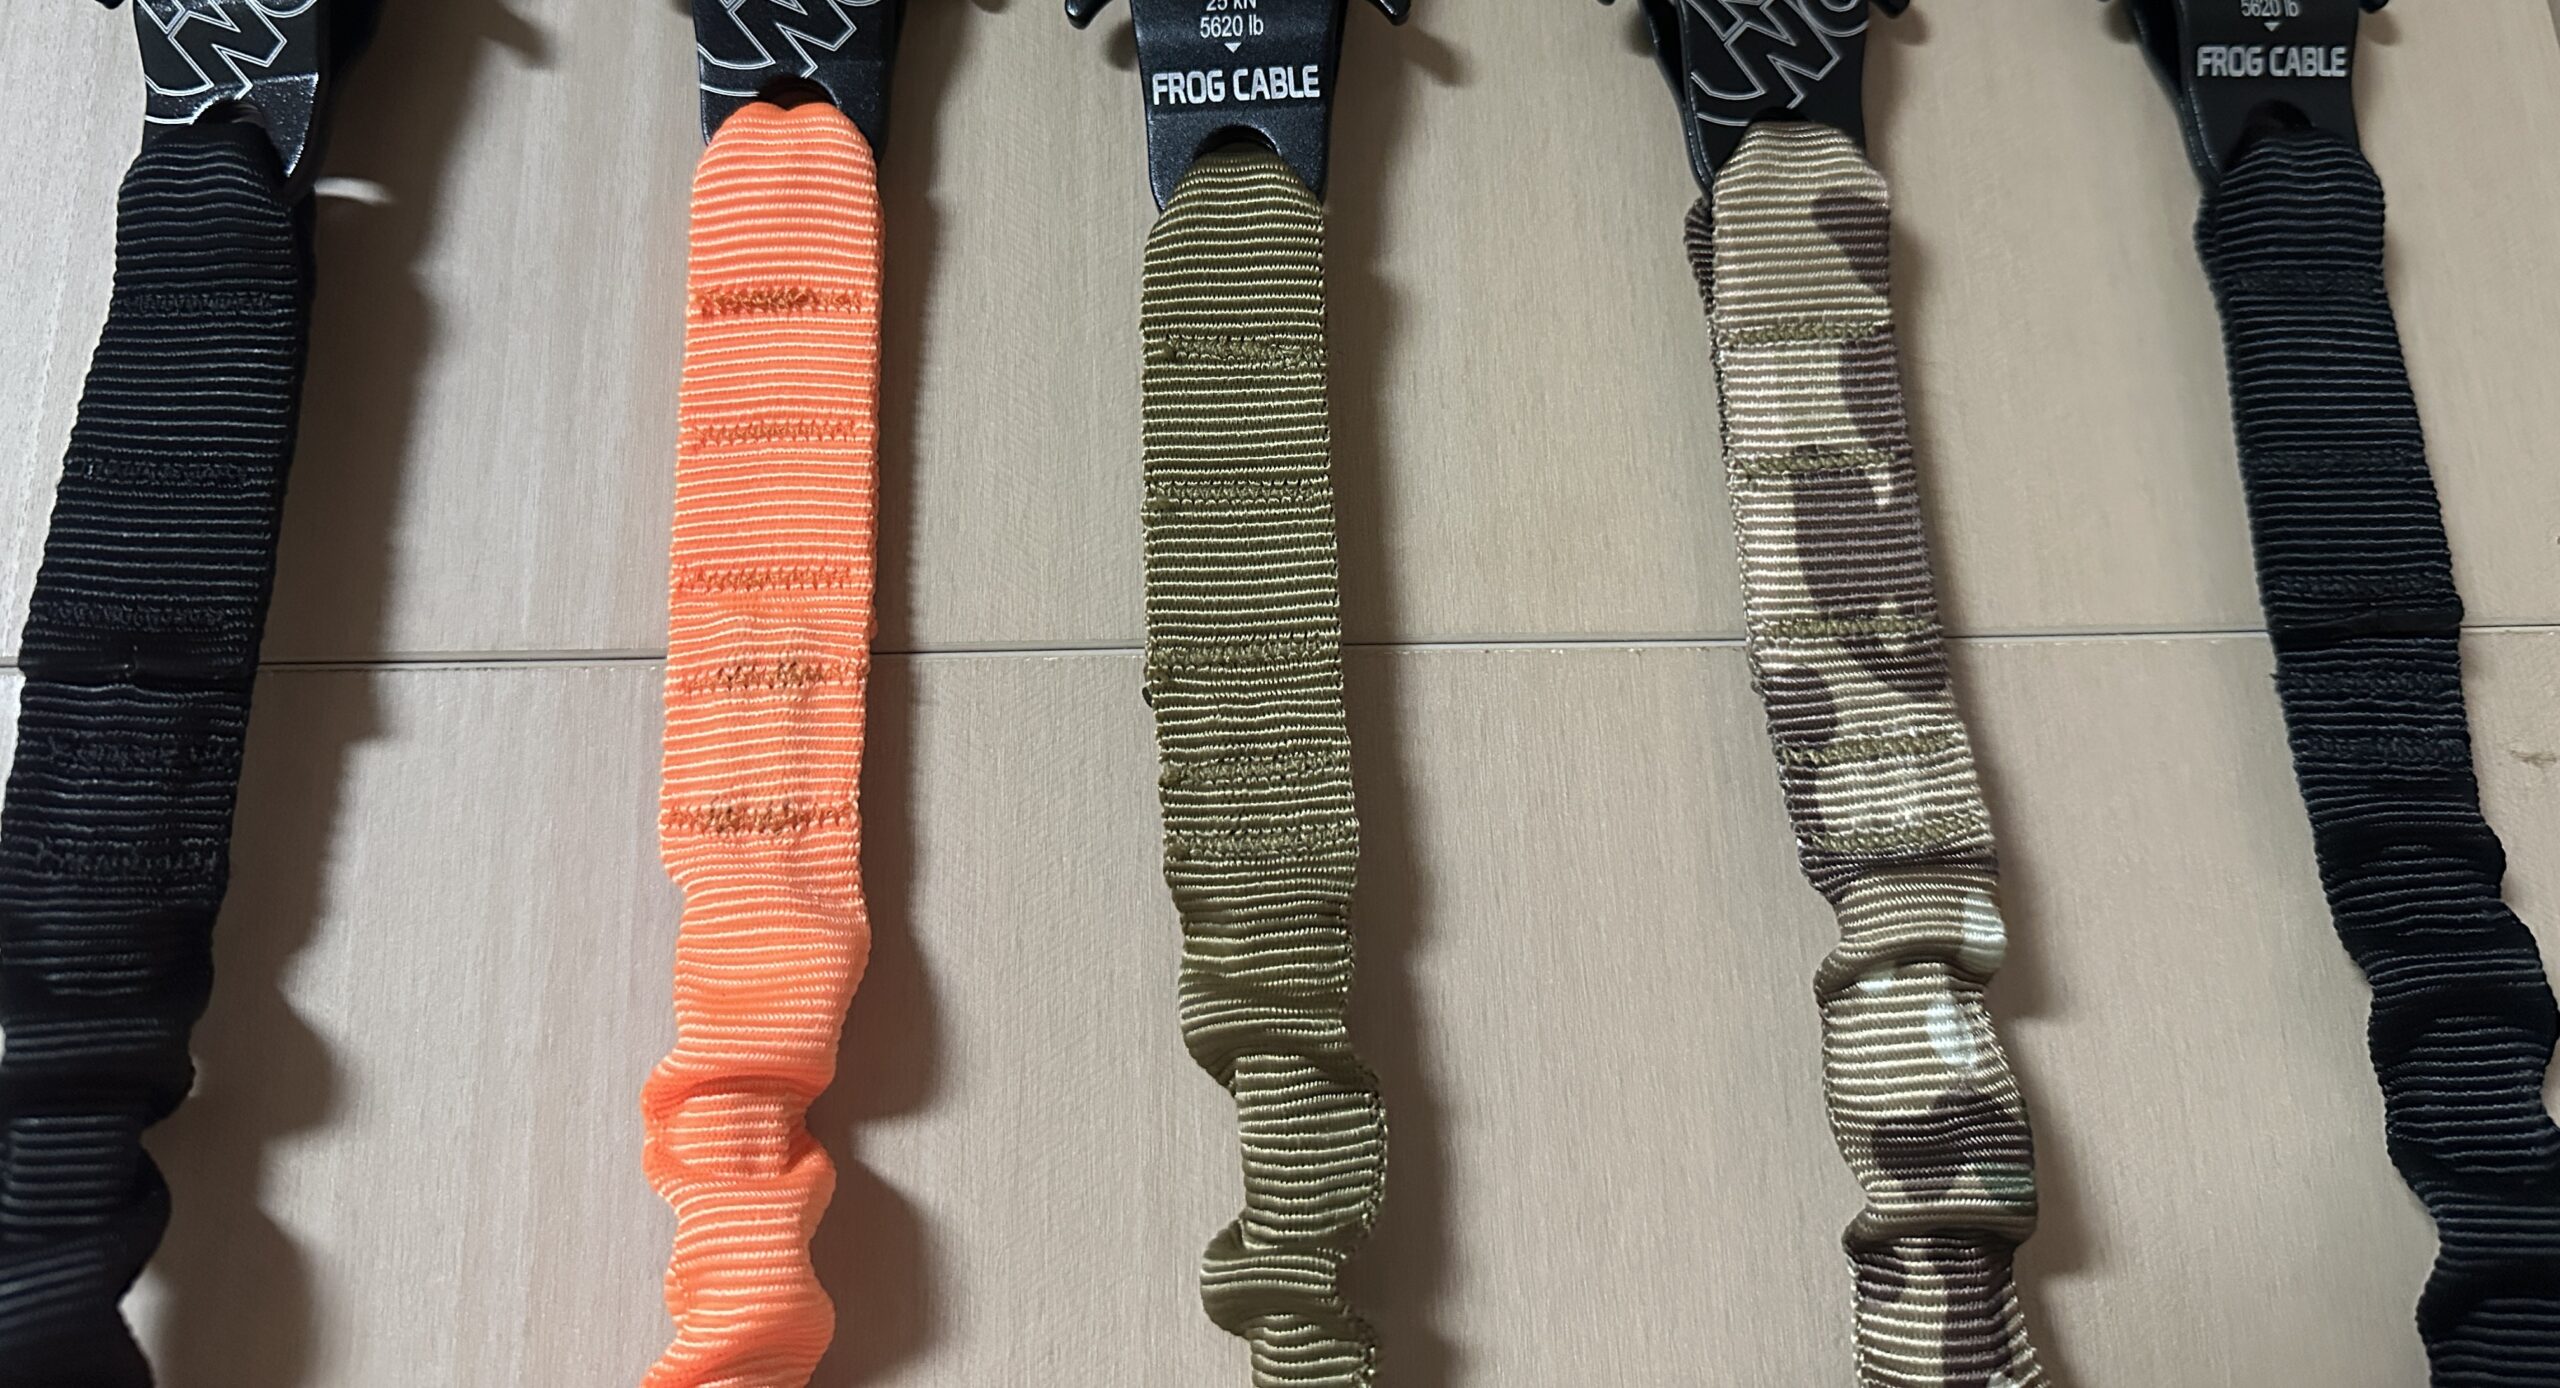
The dog leash samples show multiple tack positions below the clips. Record which positions belong to the design you are approving. A request such as “add more reinforcement” leaves the supplier to interpret the pattern, spacing and attachment area.
Hardware markings are separate from the sewn-joint specification. A marking on a clip does not establish the performance of the webbing, stitches or complete leash assembly.
Keep a joint-specific sample approval record
Use a simple approval record that identifies one joint at a time. This is especially useful when a product contains several webbing connections with different folds or stitch layouts.
- Identify the joint. Give it a location or drawing reference and link it to the product and sample revision.
- Photograph the visible construction. Include an overall view and a clear close-up. Review the reverse side where accessible; record any area hidden inside the assembly.
- Check the agreed details. Compare material references, fold, overlap, stitch placement and tack positions with the drawing.
- Record visible exceptions. Note loose thread loops, missing sections of the specified stitch path, damaged material or misplaced sewing for review with the supplier.
- Separate appearance approval from performance verification. Identify any required test method, sample conditions and acceptance criteria in the project specification.
If a material, thread, layer arrangement or pattern is changed, identify the affected joint and review the revised sample before treating the old approval as applicable. Keep the accepted reference and superseded version clearly distinguished.
These photographs document visible factory work. They do not provide test results, a universal load rating or proof that a particular joint is suitable for every application.
Send a webbing-joint brief for your OEM project
For OEM/ODM tactical gear development, send the product reference, intended use, marked joint locations, webbing and fabric references, folds, dimensions, stitch-layout proposal and estimated order quantity.
Include a sample or tech pack if available. State any performance or documentation requirement so it can be reviewed alongside the proposed construction.